Lolly stick gingerbread houses
Published
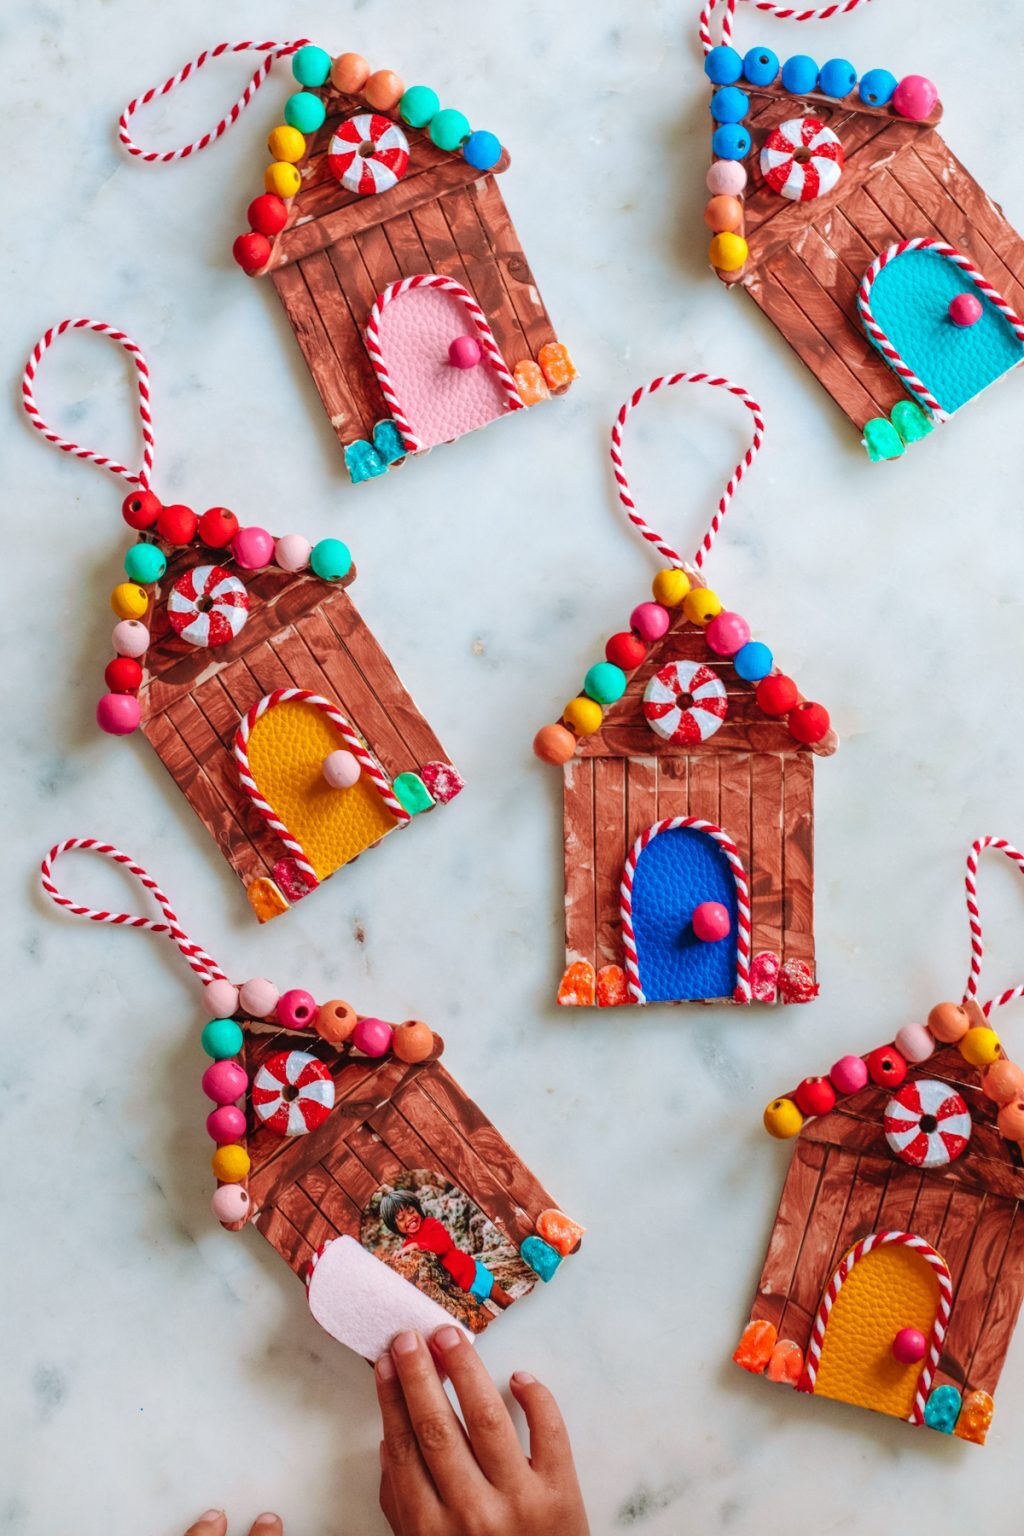
Get in the festive spirit by creating some colourful gingerbread houses to hang on your tree or around your own house!
What you need:
Ice lolly sticks
Passport-sized photo
Wooden beads
Wooden discs (for the peppermints)
Puffy paint (for the gumdrops)
Glitter
Fabric scraps (for the doors)
Red & white twine
Paint
Glue
HOW TO MAKE THE GINGERBREAD HOUSES
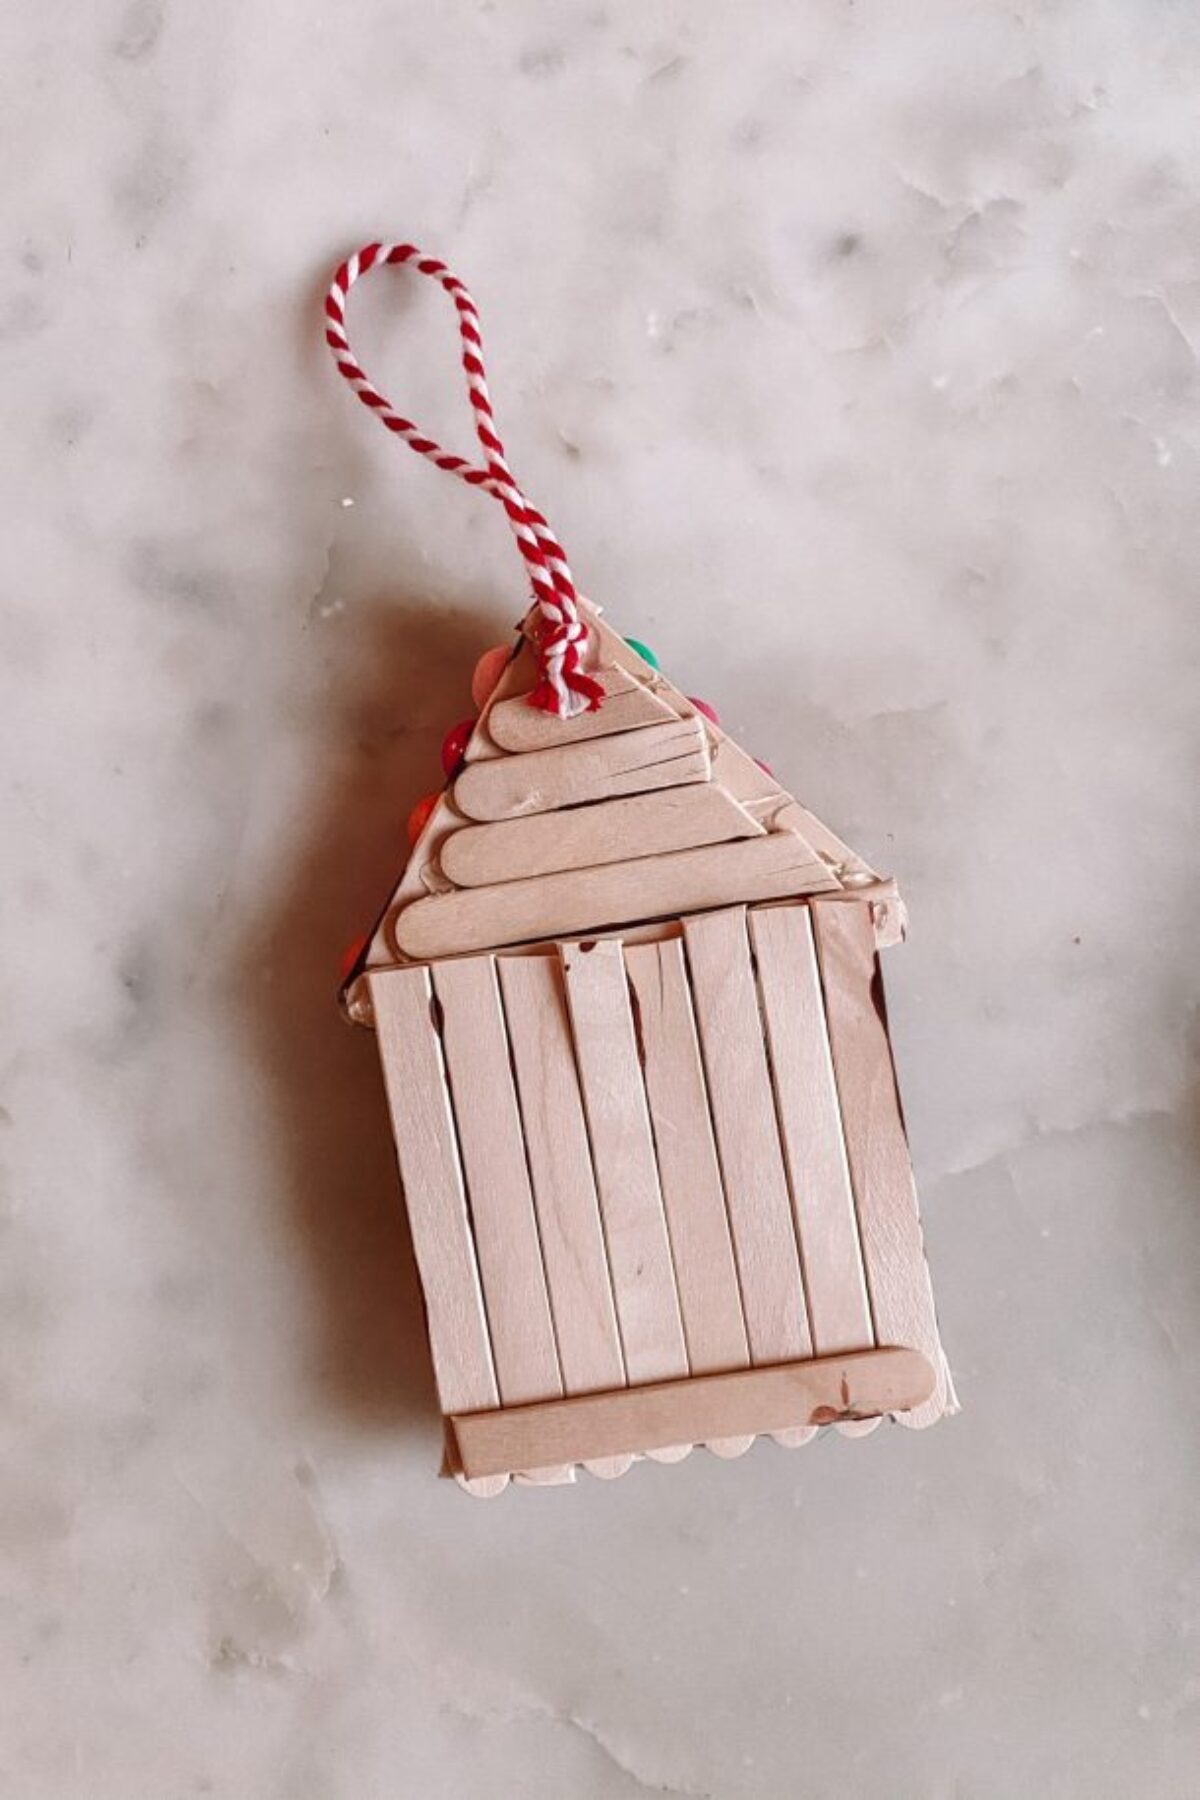
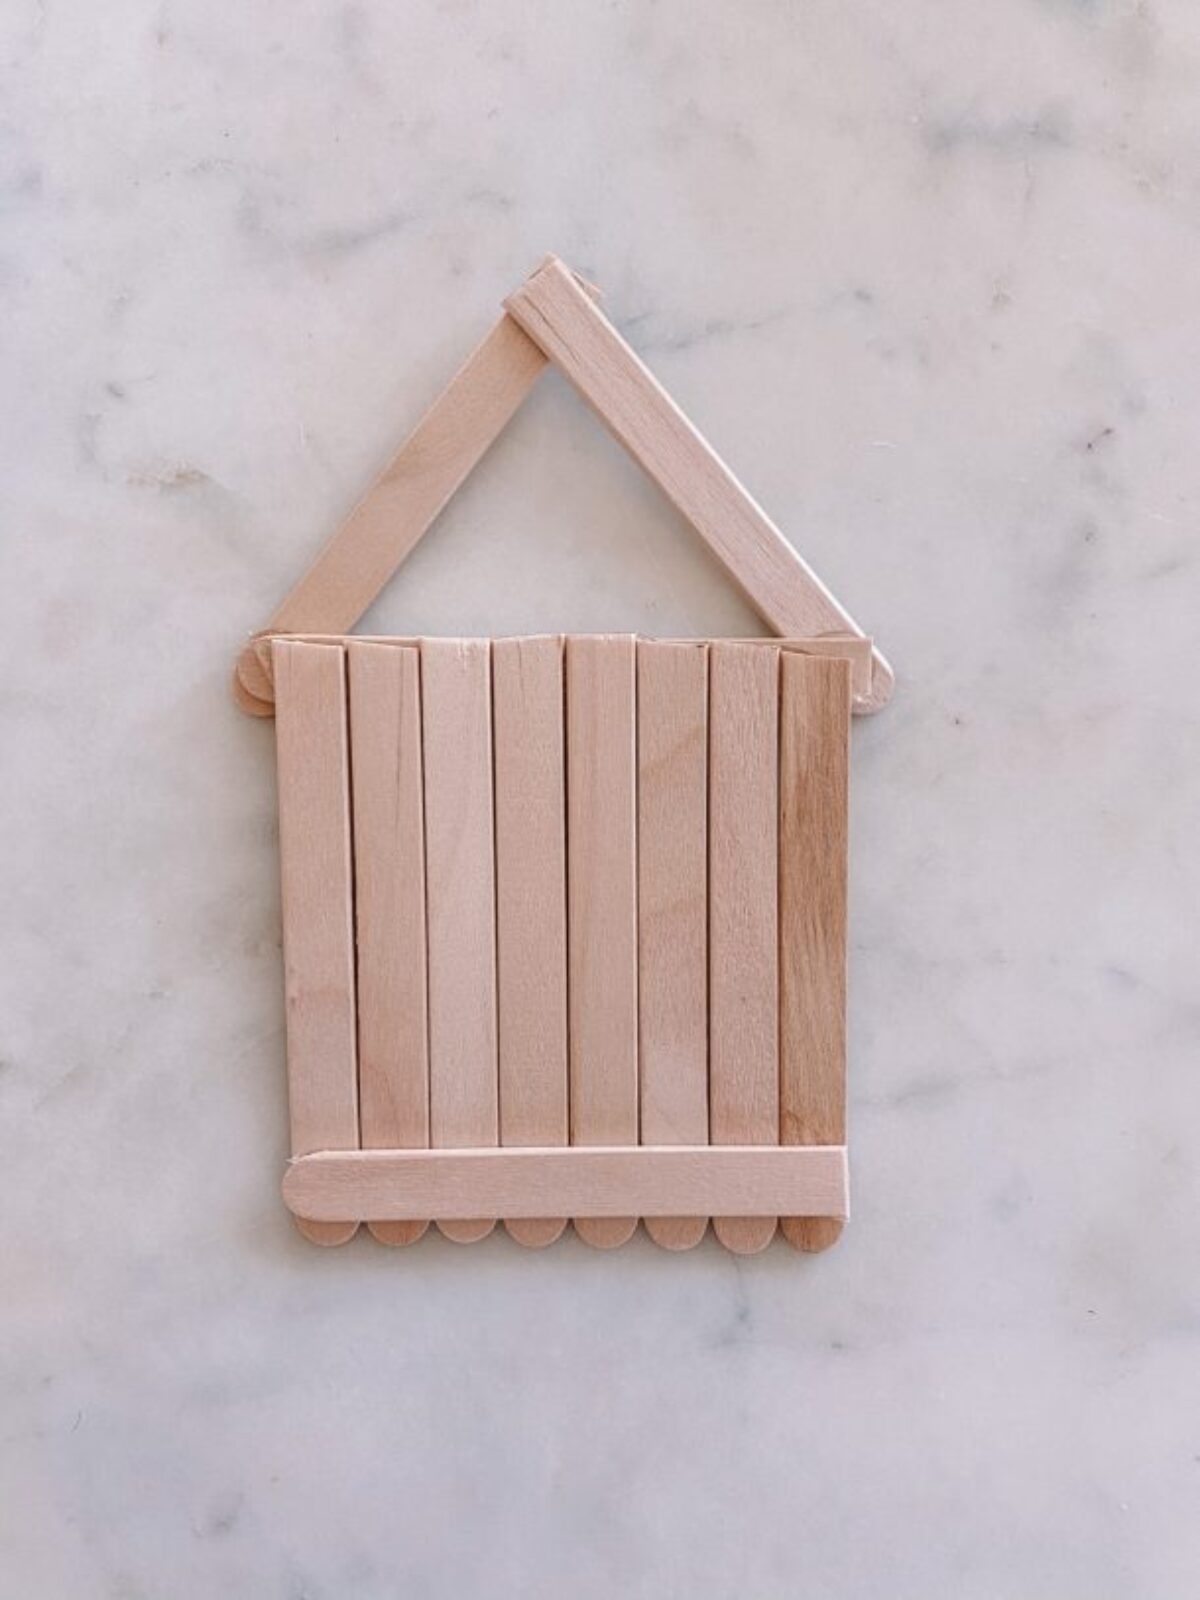
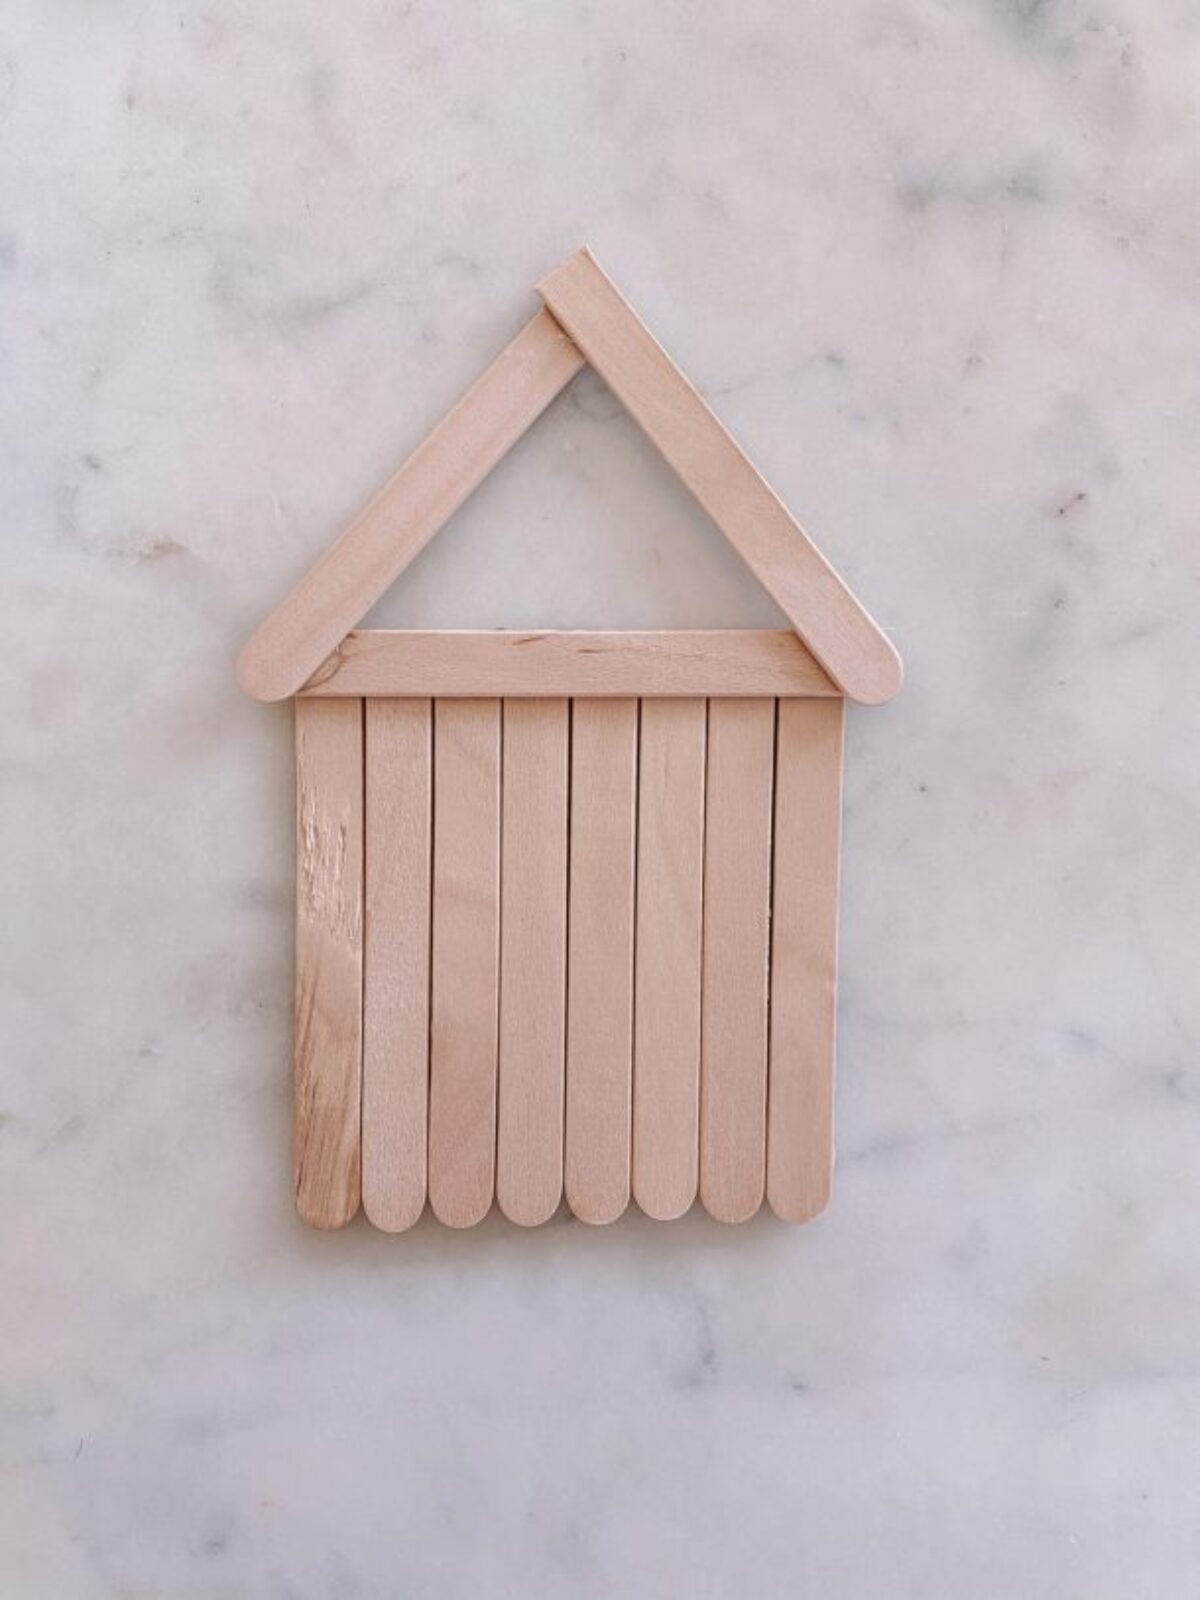
1. Use eight sticks to create the base of the house and trim them to about 2/3 of the original length. Save the trimmings if you want to make gumdrops (see below.)
2. Line up the eight sticks and glue another lolly stick horizontally across the bottom to hold them all together. (You’ll have to trim it accordingly so it fits across the back of them).
3. Flip the piece over and glue a stick across the top.
4. Glue two sticks to the top, forming a triangle. Again, you’ll want to trim these based on how tall you want the roof to be!
5. Flip the piece back over and fill in the space of the triangle by gluing sticks horizontally across. This is a great way to use up some of the scrap pieces you trimmed off of the other sticks. Now you’re ready to paint!

HOW TO MAKE THE DECORATIONS
Peppermints: Paint red and white swirls on round beads and let dry. Then add iridescent glitter mixed with glue.
Gumballs: Use coloured beads or paint plain wooden beads any colour you like! To paint the beads, slide a handful onto a bamboo skewer to make it easier to paint them all at once. Then slide them off carefully and let them dry.
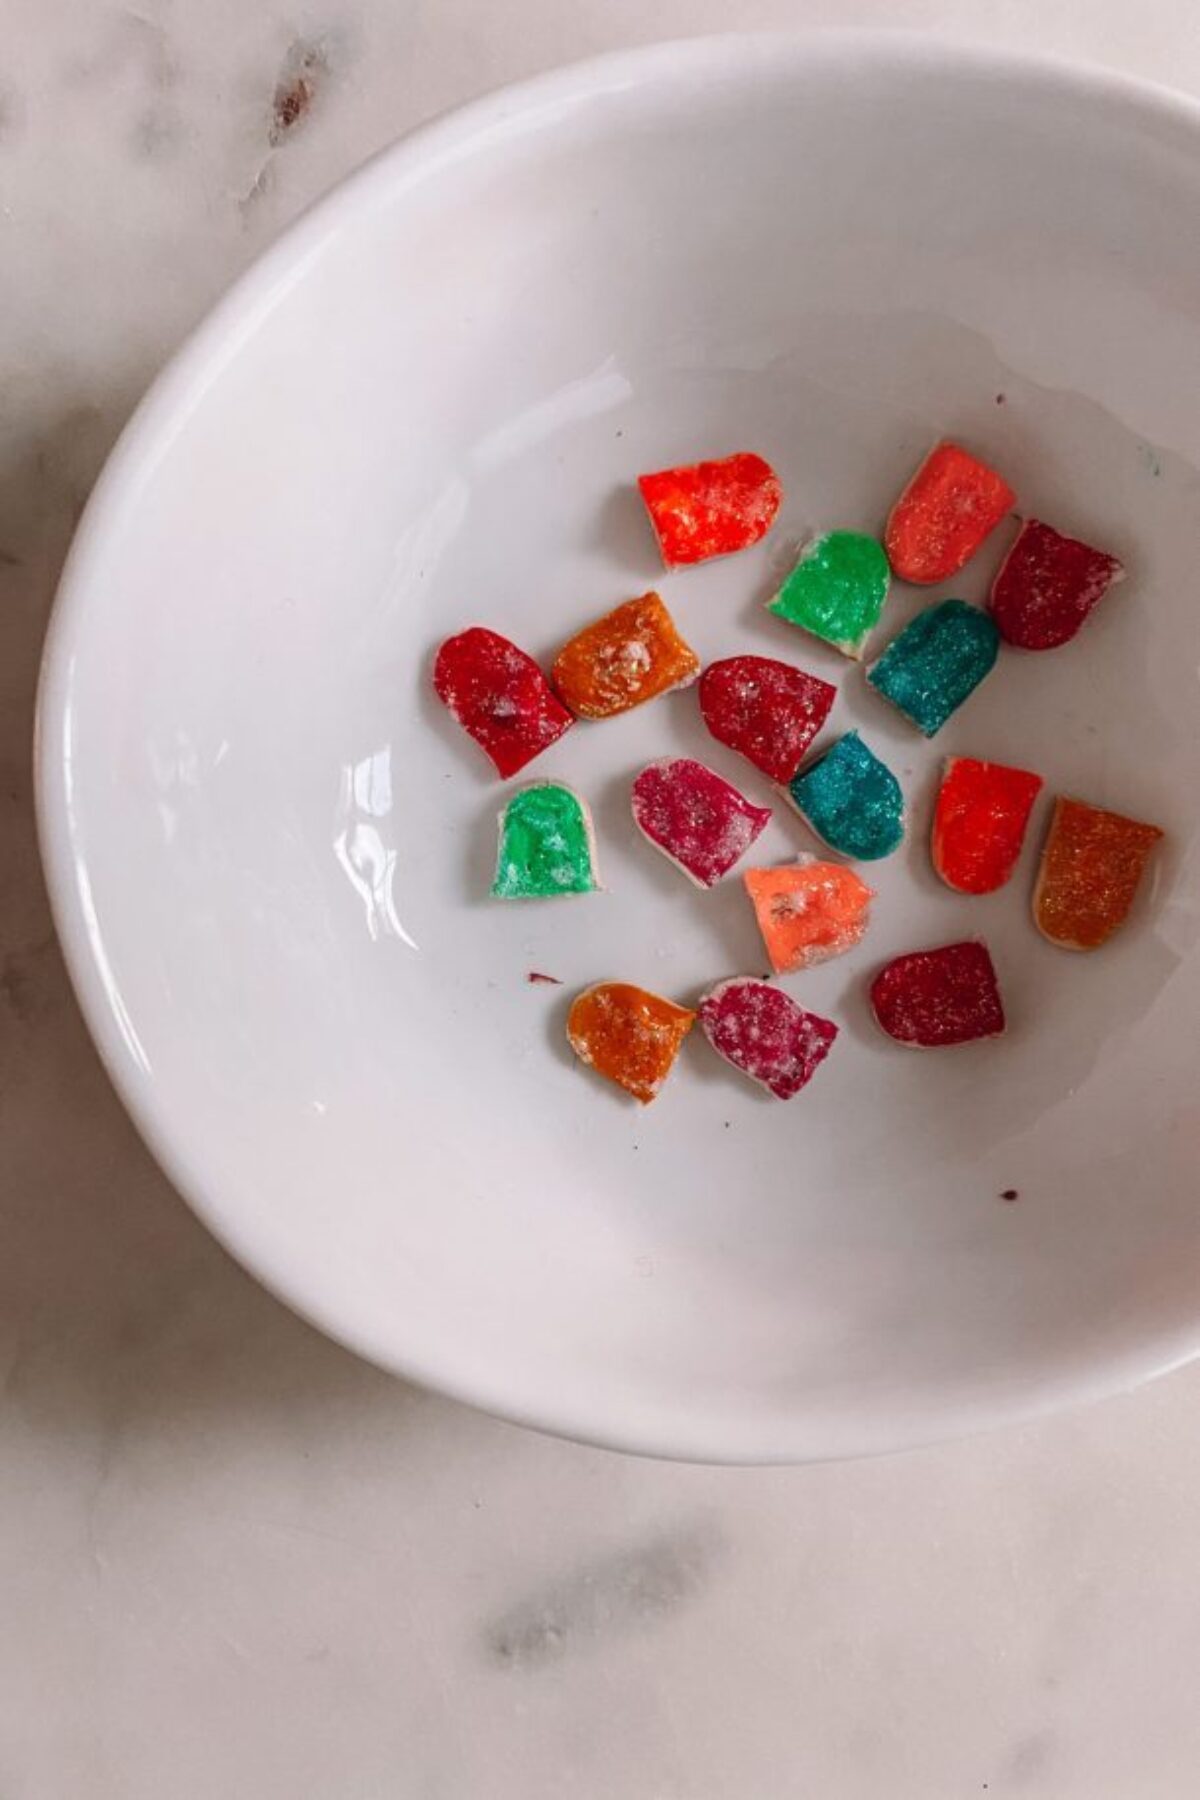
Gumdrops: Use the trimmings from the lolly sticks and cover the small end pieces with puffy paint to give them some texture. Let them dry then paint with iridescent glitter/glue mixture.
DECORATING THE GINGERBREAD HOUSE
1. Paint the house brown and let dry.
2. Decide what size/shape you want the door to be and cut out a template.
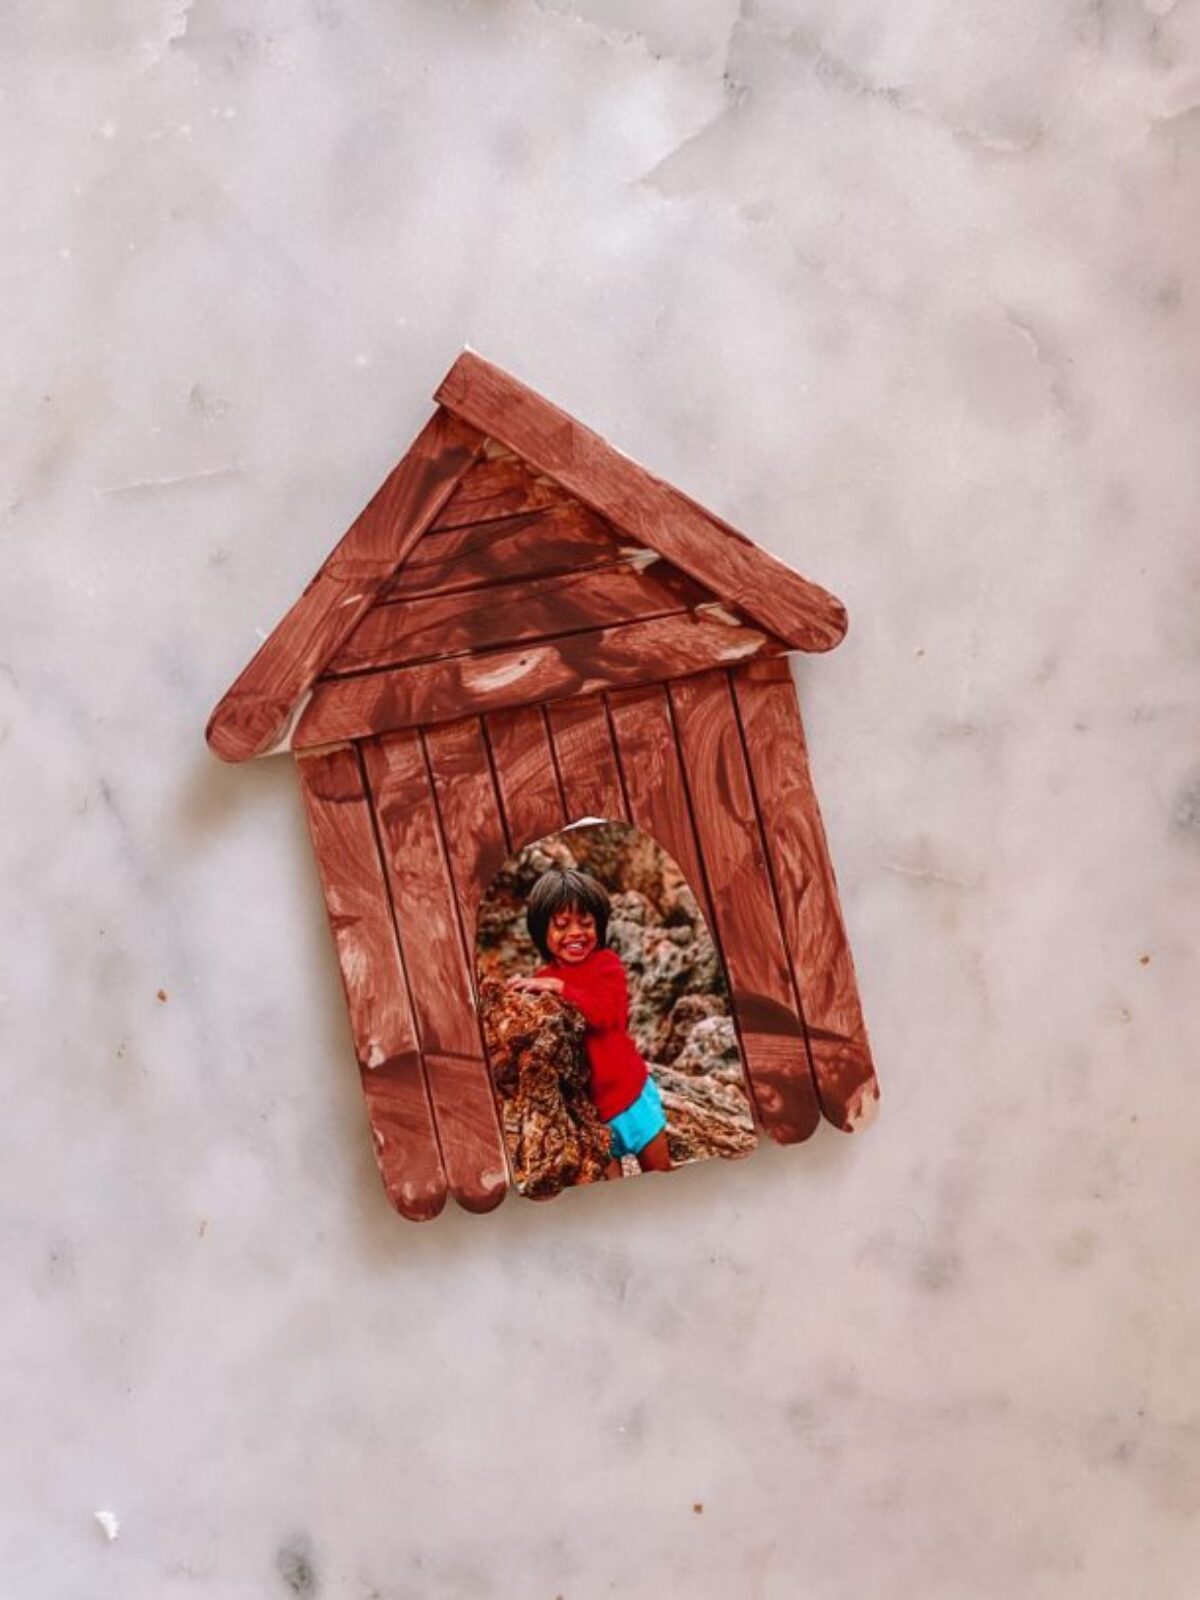
3. Use the template to cut out your photo as desired.
4. Glue the photo to the bottom centre of the gingerbread house.
5. Decorate with the candies you created.
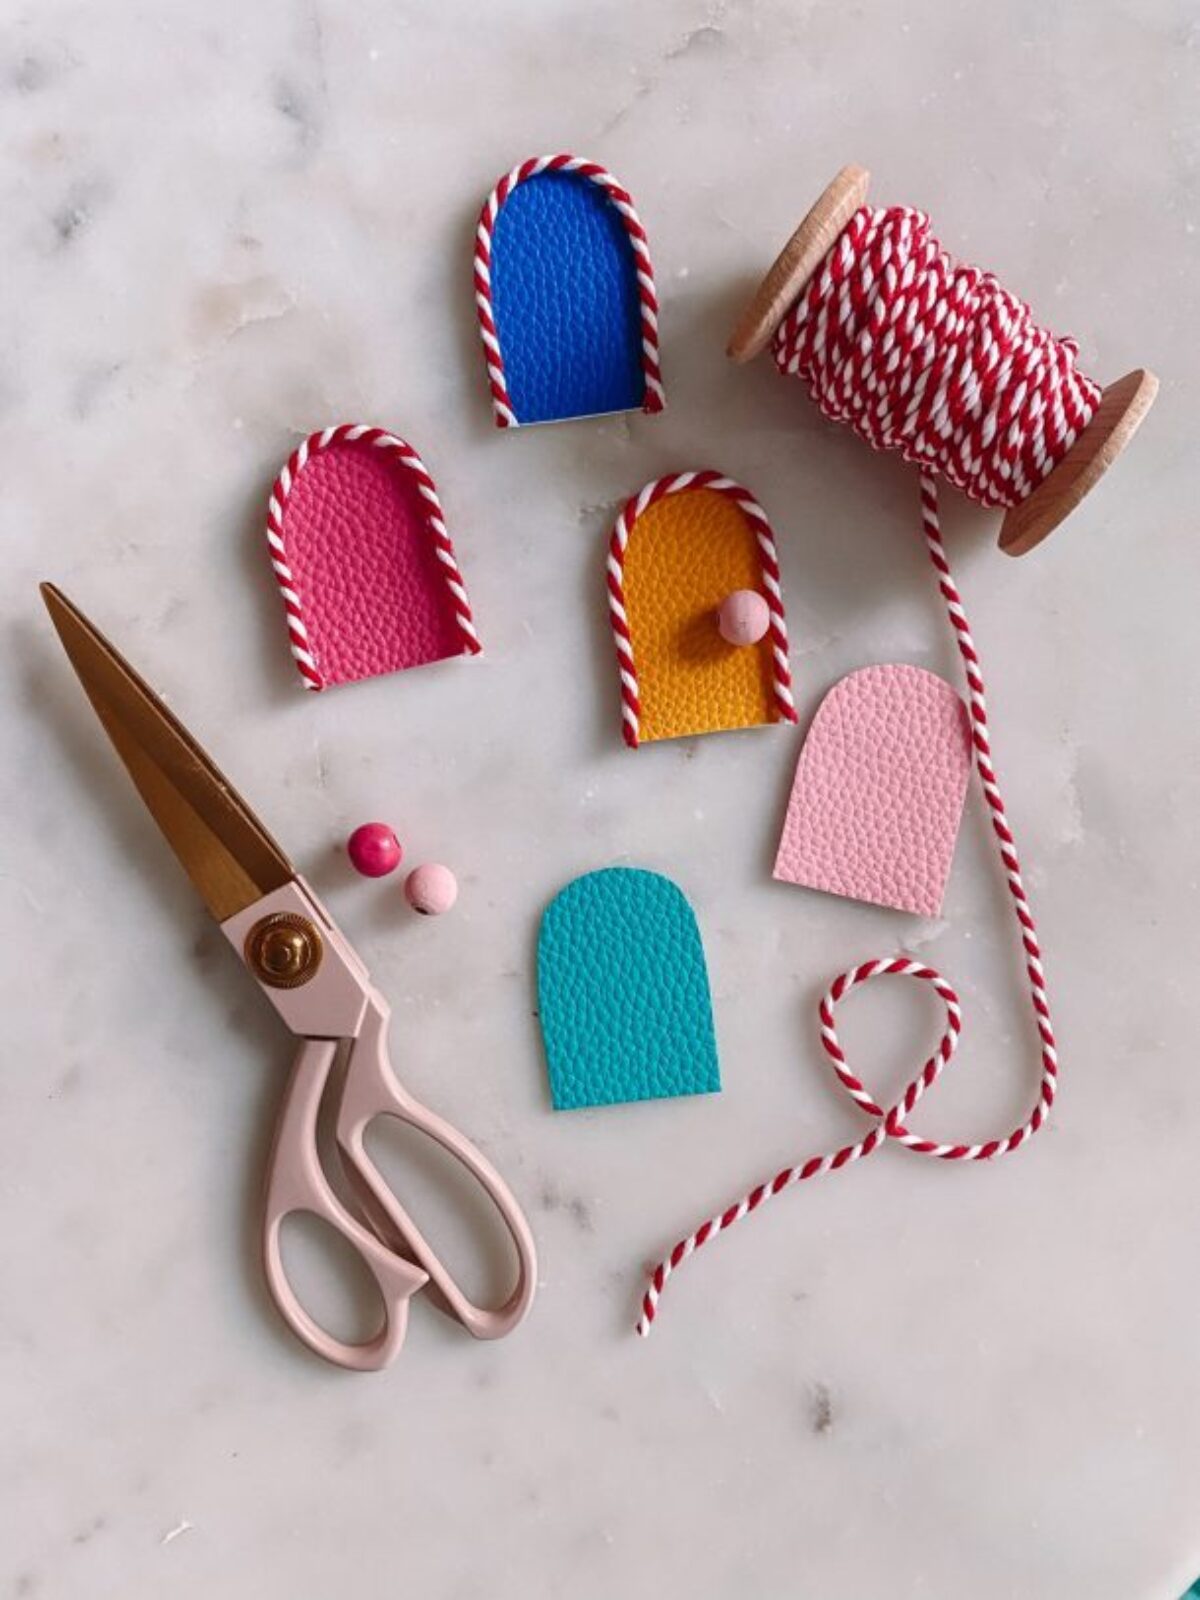
6. Cut out a door from the material of your choosing using the same template you used for the photo.
7. Add trim to the door - red & white twine border and a bead for a door knob.
8. Stick the door on by running glue along the back left side of the door and the left edge of the photo.
9. Add a loop of twine or ribbon to the back of the top of the house for hanging.