Box of delights
Published
Imagine how many amazing things you could do with a simple cardboard box! Using kids’ bike boxes as inspiration, Halfords have created The Imagination Station which is packed with ideas to keep kids entertained when there isn’t much to do. Here, we show you how to create a funky London bus and a super-cool ice cream truck. And it’s double the fun because, when you’ve built your vehicle, you’re all set to take a ride in it!
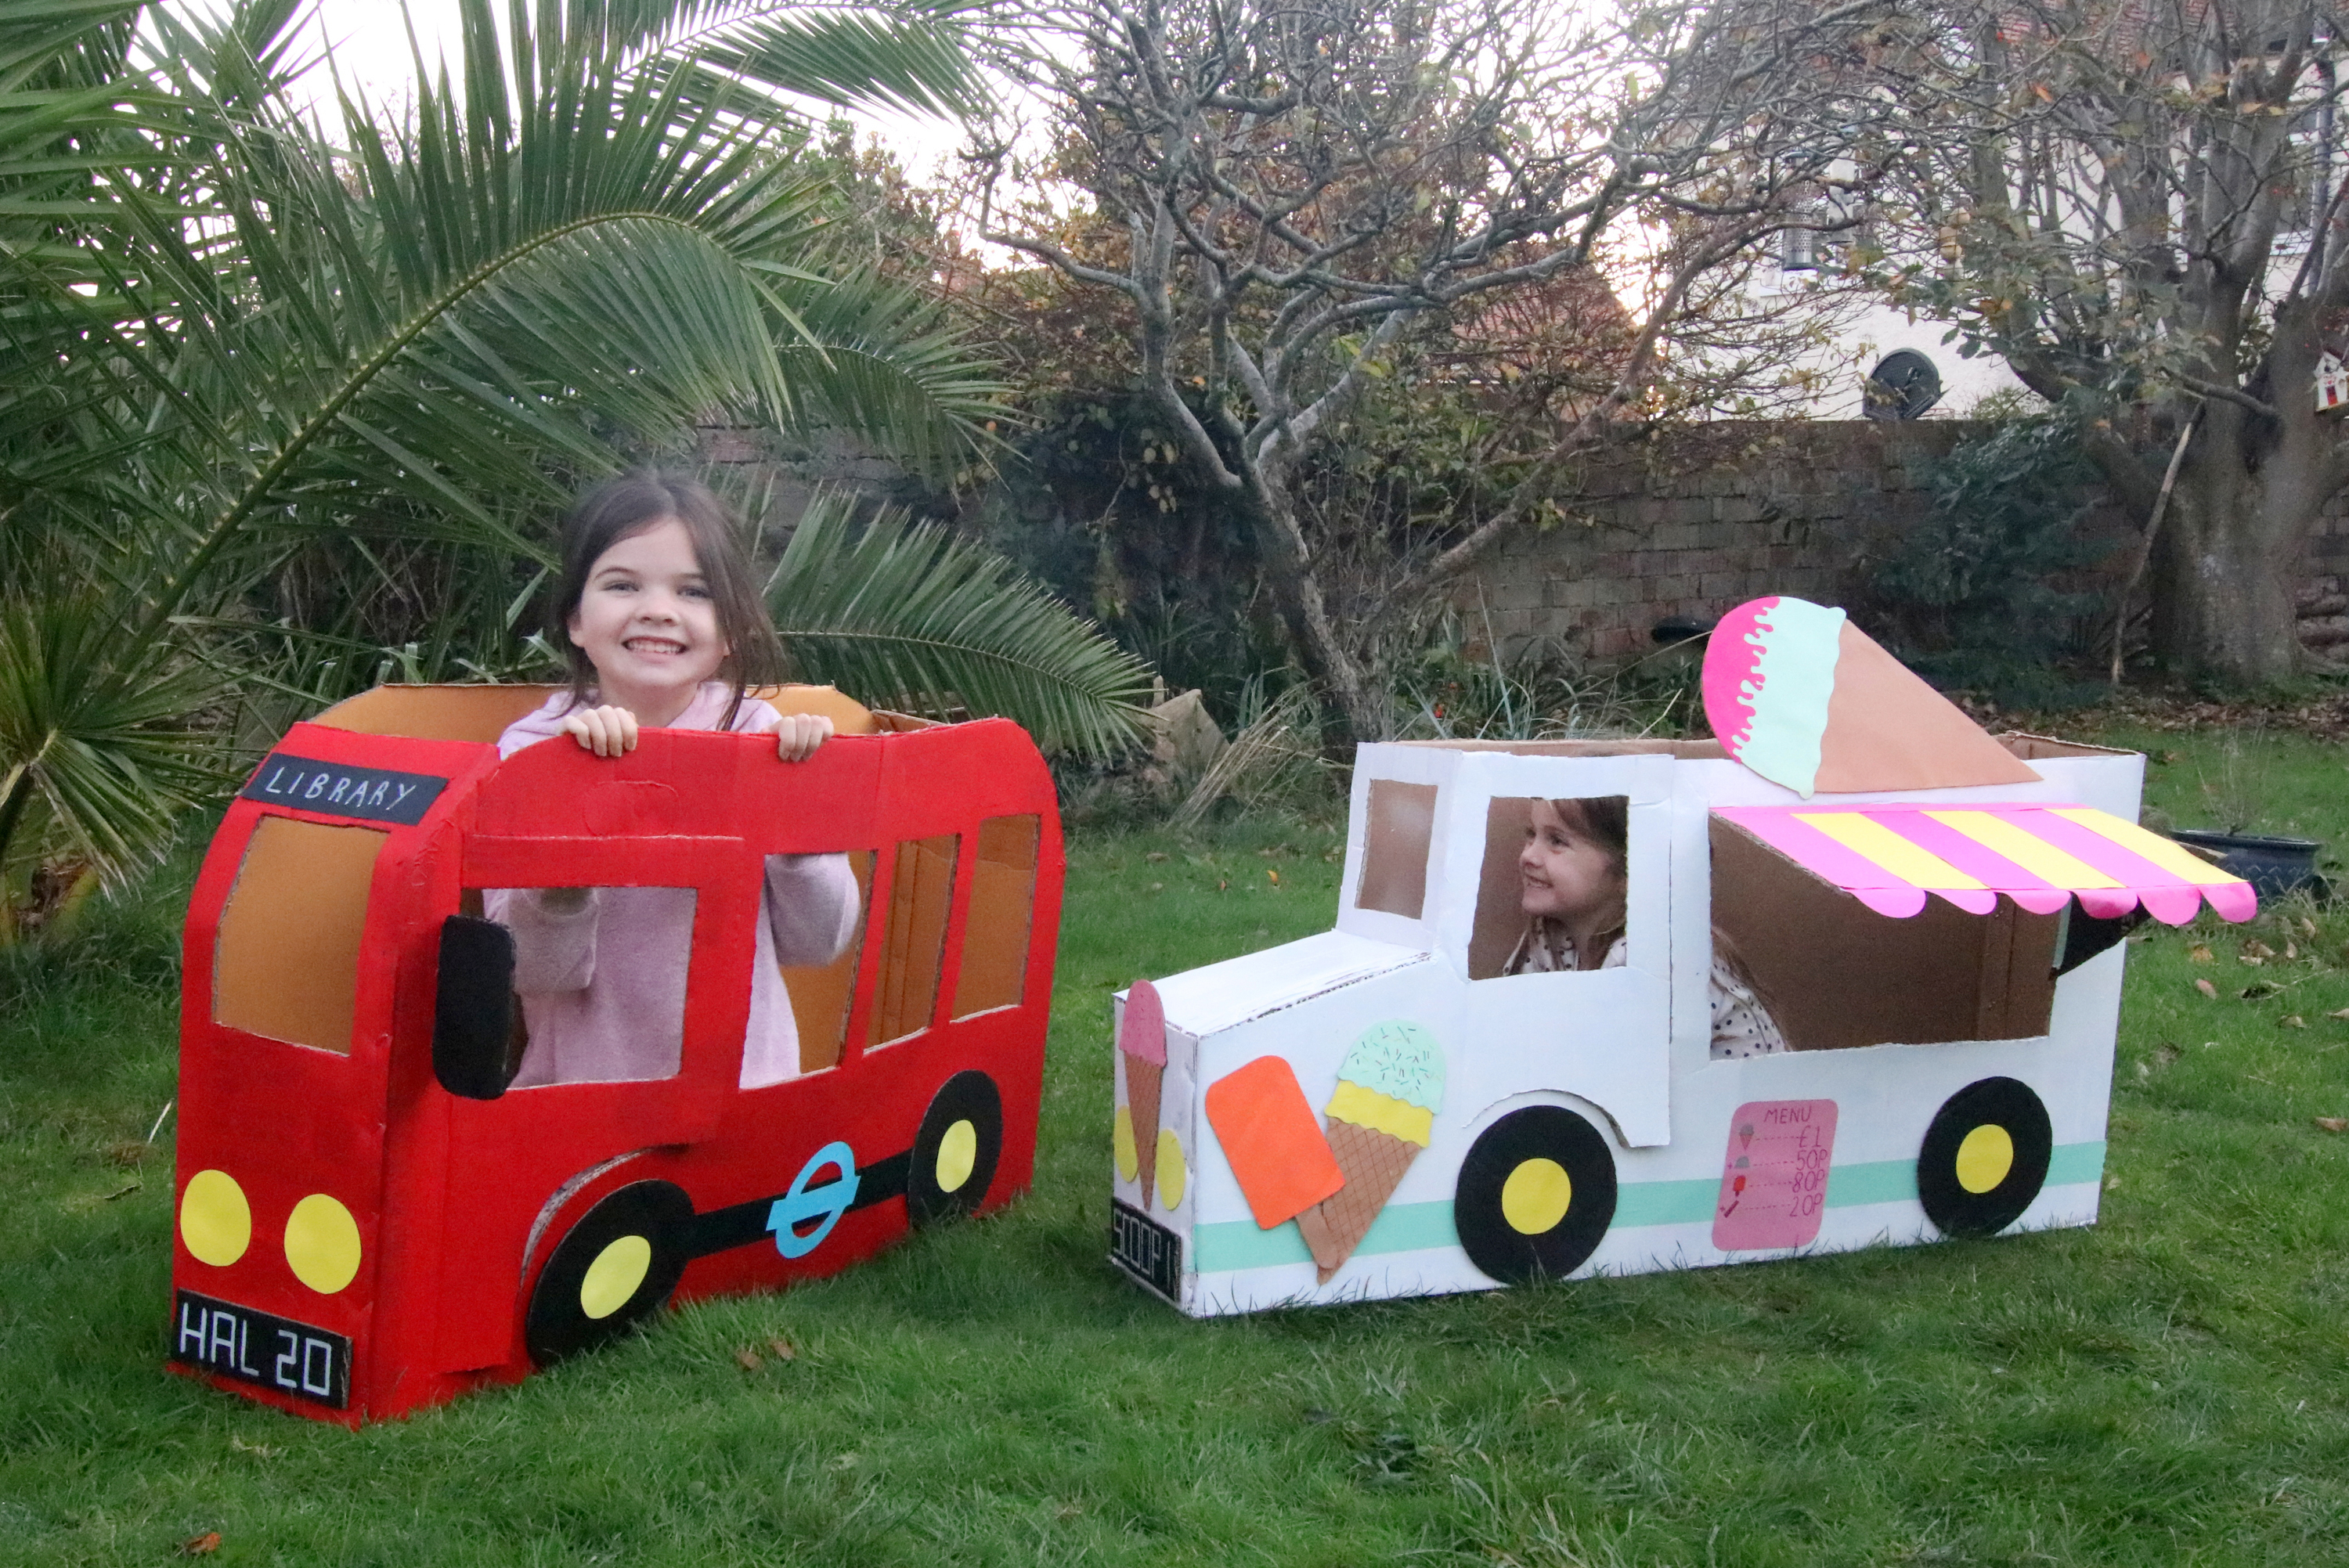
LONDON BUS
You will need:
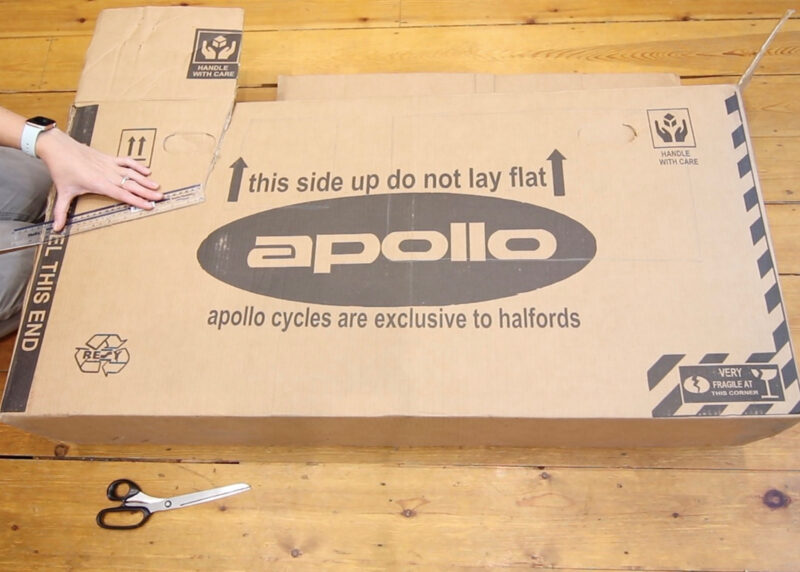
- Kid’s bike box or similar shape
- Sharp knife
- Red and black paint
- Chalkboard duct tape (optional)
- Packing tape
- Yellow and blue card
- Tin foil
- Strong craft glue
- Glue stick
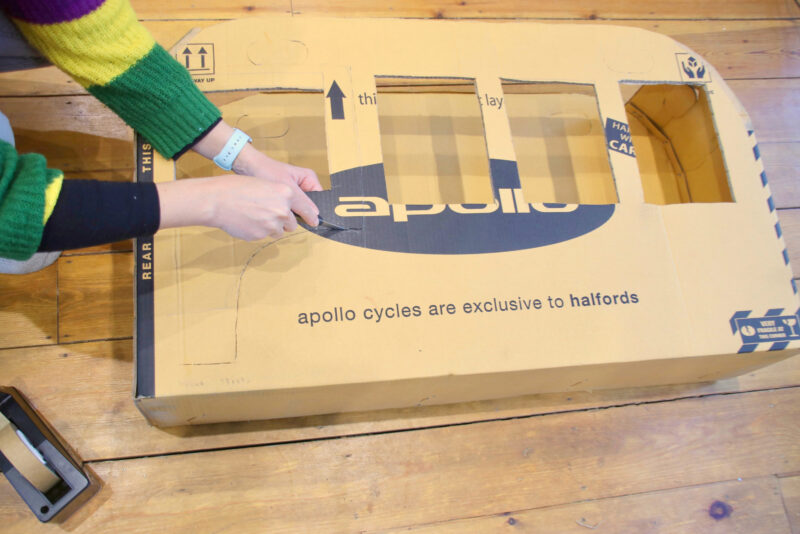
Begin by drawing your design onto the front of the box in pencil. Round off the top edges and draw on some windows and a door. The door should curve at the bottom so that you can fit a wheel on later. Use a sharp knife to cut these out. Only cut around the top, right side and bottom of the door. Score along the fold on the back to make it easier to open.
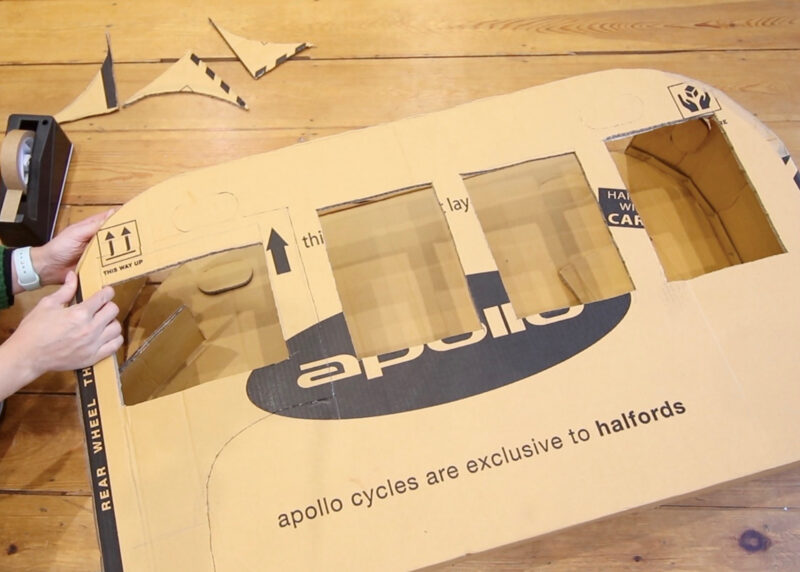
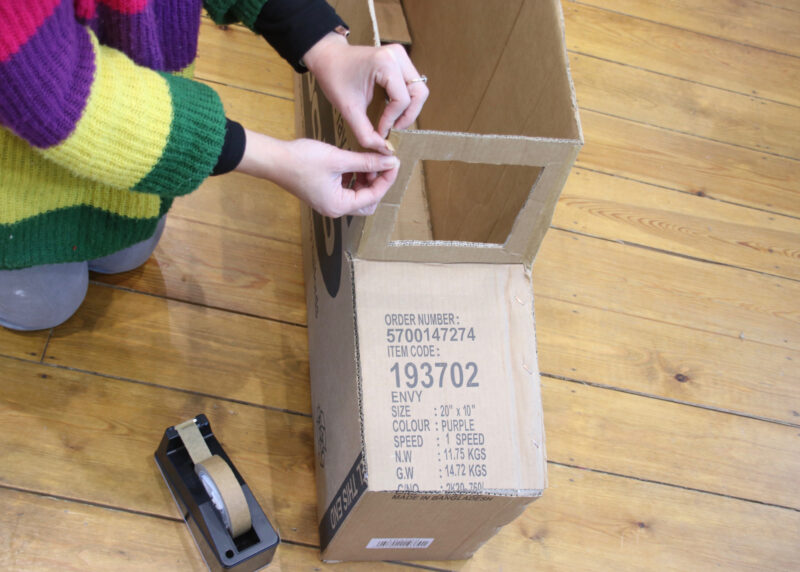
Cut a window out from the front (i.e. the narrow side) of the box. Then bend the card around the curved edge and tape it down on both sides.
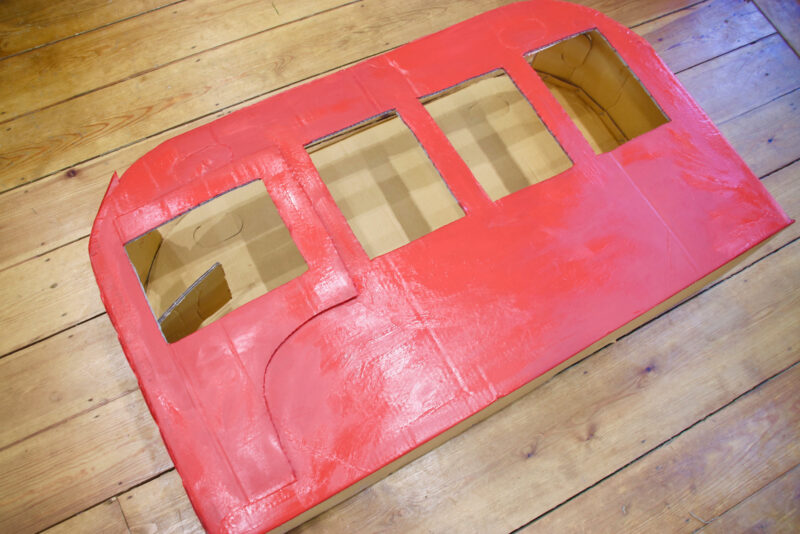
Paint the bus in your preferred colour – we’ve chosen London red. Acrylic paint works best for good coverage – you will probably need two coats to cover any text on the box. Leave to dry.
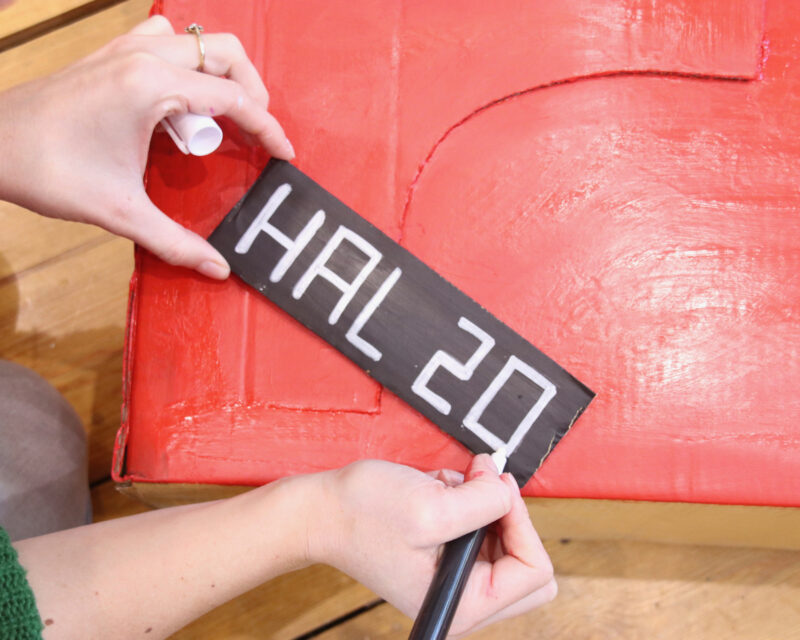
Cut a small rectangle of card for the number plate. Paint it black, then write whichever numbers and text you like with white paint. You could write your child’s name or something personal to them. Glue on the front of the bus at the bottom.
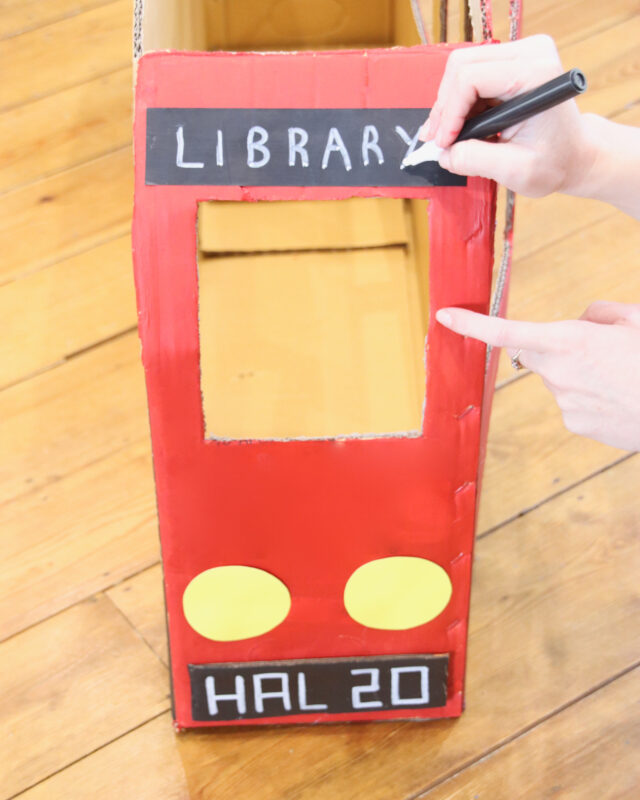
Cut small circles from yellow card for headlights and glue these onto the front of the bus. For the destination sign at the top, we used a piece of chalkboard tape so that kids can write and change the destination as often as they like. If you don’t use chalkboard tape, you could glue on a piece of black card and write your chosen destination on.
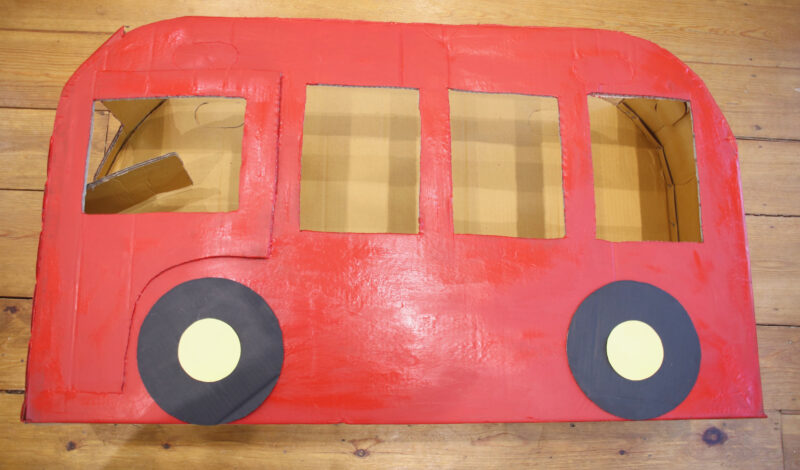
Cut card circles for wheels and paint black. Then cut smaller circles from yellow card and glue these onto the centre of each wheel for hub caps.
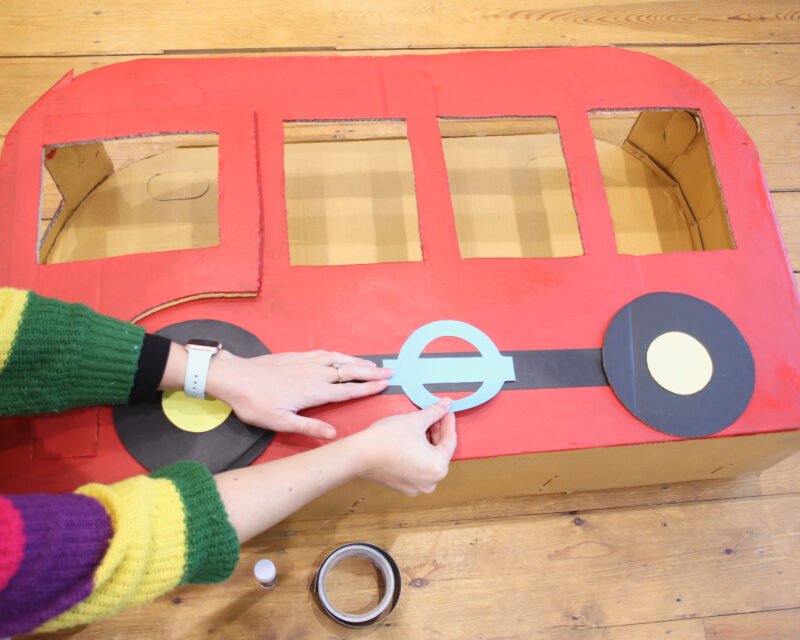
For decoration add a strip of black tape from one wheel to another. Draw a logo of your choice, like this London symbol, onto coloured card and glue onto the centre of the bus.
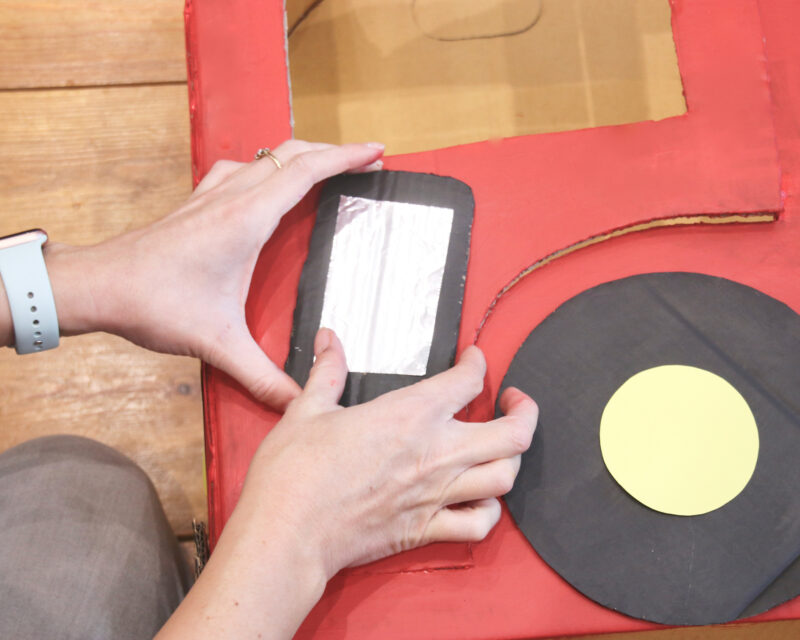
Finally, for the wing mirror, cut a rectangle from card and paint black. Glue a tin foil mirror onto one side then use strong glue or tape to attach the wing mirror to the side of the bus.
ICE CREAM TRUCK
You will need:
- Kids bike box or similar shape
- White paint
- Coloured card
- Pastel coloured duct tape
- Packing tape
- Felt tip pens
- Strong craft glue
- Glue stick
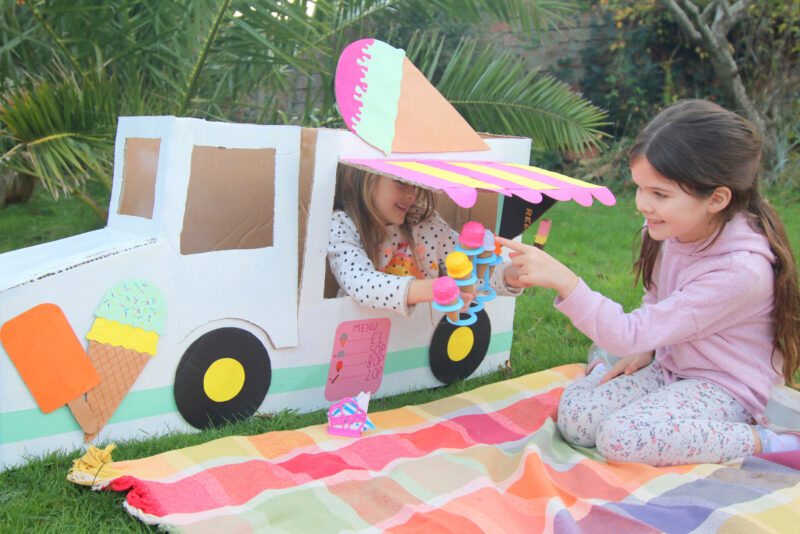
Begin by marking out the shape of the truck onto the side of the bus. Draw a bonnet, serving window, driver’s window and door as with the bus. Draw the bonnet on the other the side of the box too.
Cut out the bonnet on both sides. Cut the centre out of the flap on the narrow side of the box as shown to make the front window. Fold this down and tape to secure.
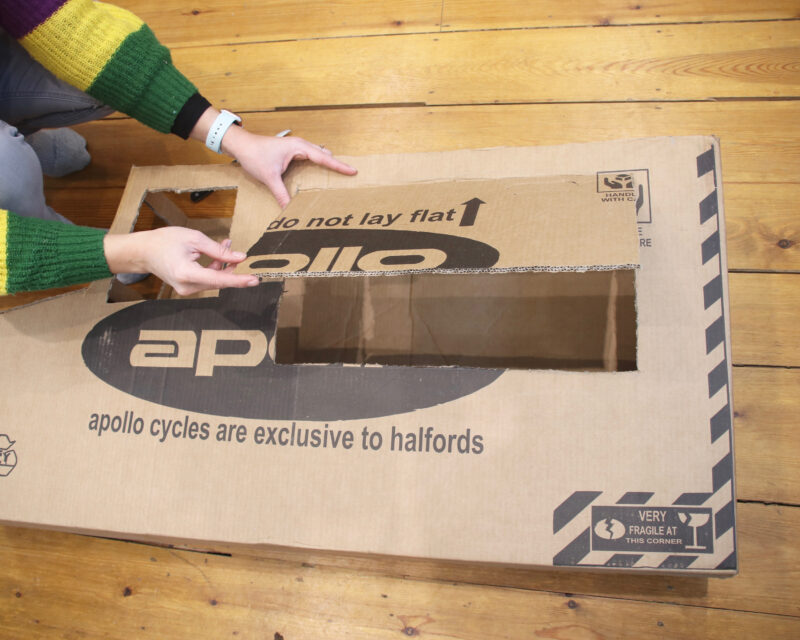
Cut out the driver’s window and door. Then cut the serving window along the sides and bottom. Score the back of the fold to allow it to open easily.

Paint white, using several coats if you want an even coverage.
Make the wheels, number plates and lights as per the bus. Add a strip of coloured tape along the length of the truck. If you like, you can make an ice cream menu for the front of the truck too.
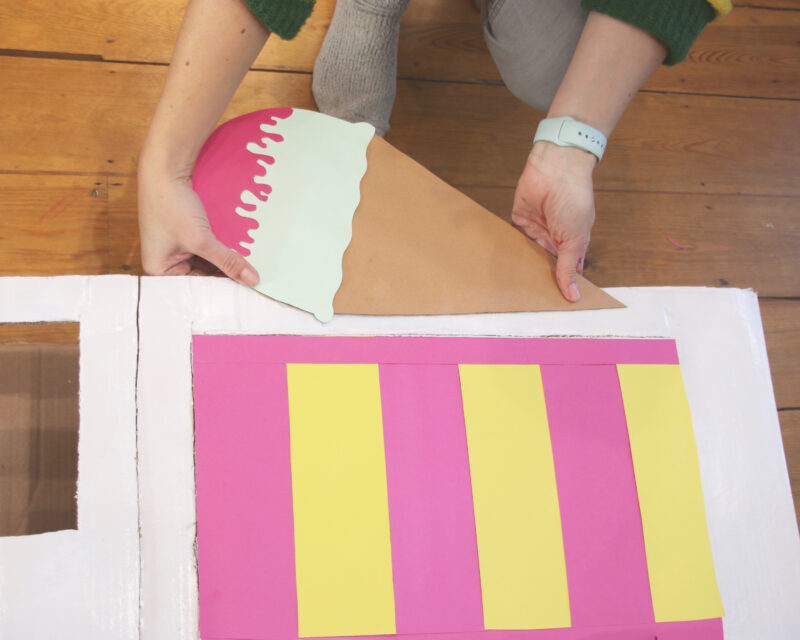
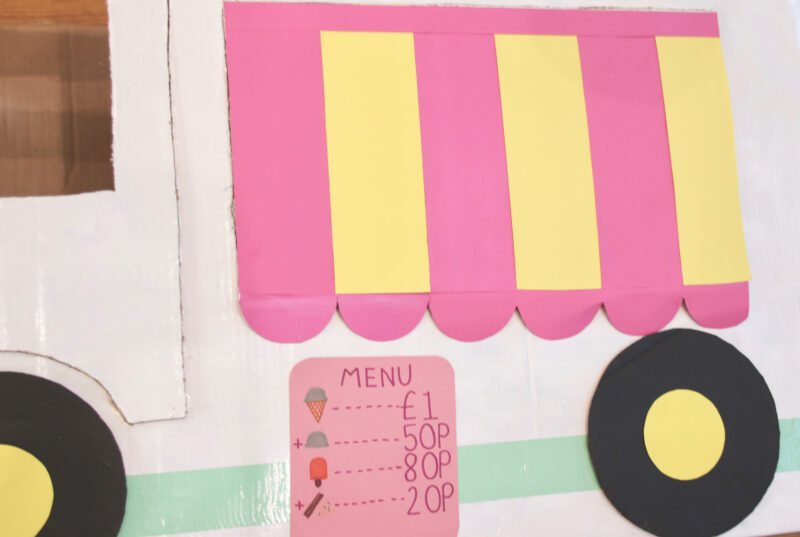
For the canopy, cut a scalloped edging from coloured card and glue along the bottom of the card. Then cut strips of contrasting card and glue down, alternating the colours.
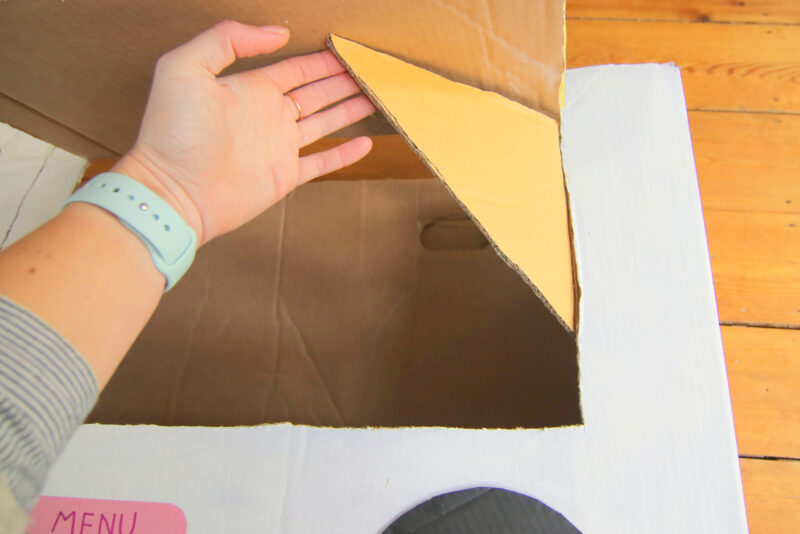
To enable the canopy to stay open, cut two triangles out of scrap card and tape onto each side of the window. You can then fold out the triangles and the canopy will rest on top when it’s time to serve ice cream.
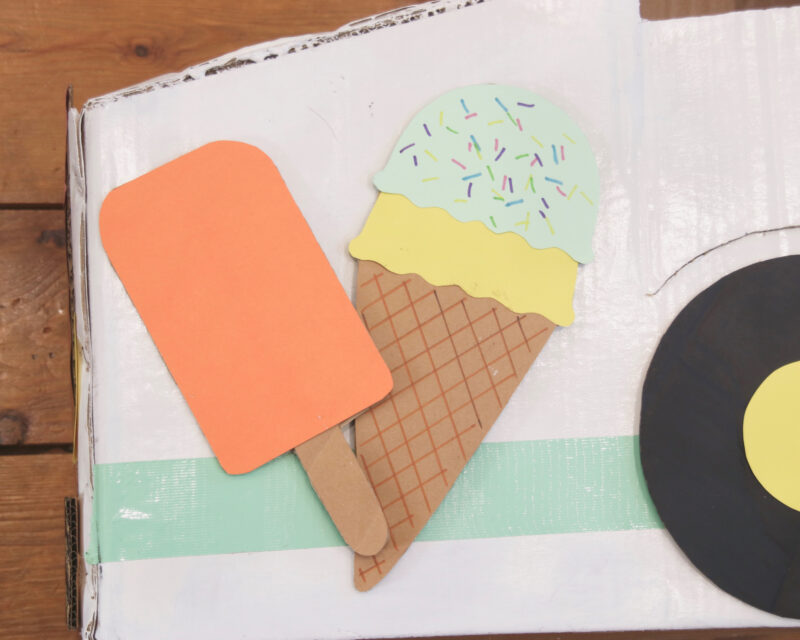
Cut out large ice creams and lollies from coloured card (add sprinkles with pen if you like too!). Glue onto the front and sides of the bus.
Visit www.halfords.com/bikes/expert-advice/imagination-station.html